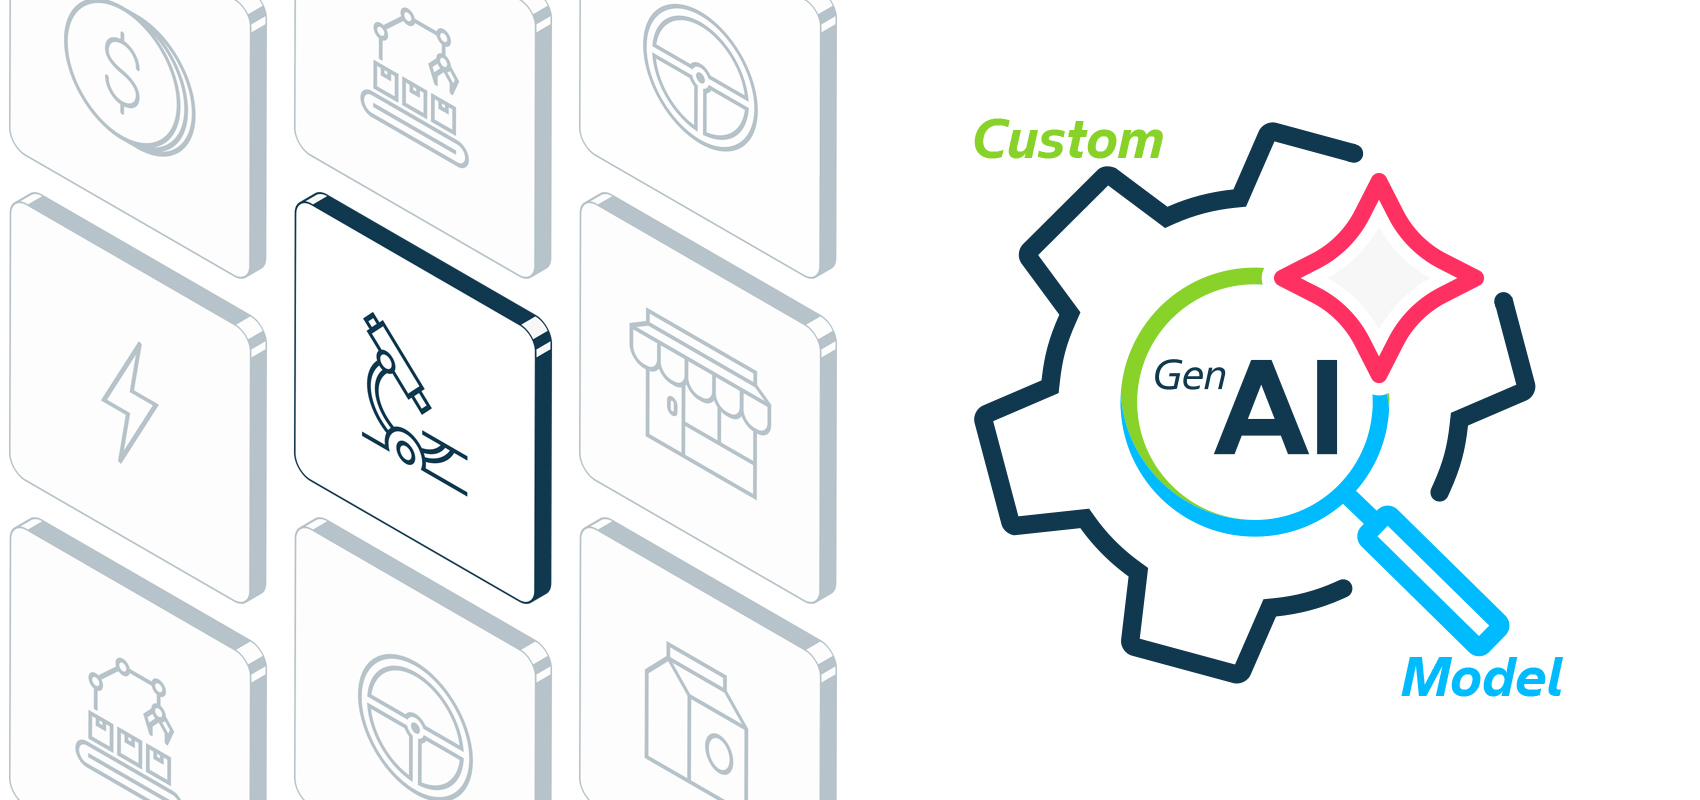
Hi! Welcome to our Media Pool GenAI documentation. Learn how to generate an image and master the model with this guide.
INPUT A LINK
1. Navigate to the Main Page: On the main page, you'll see a large Bayer banner logo. Click on this wallpaper to be redirected to the Bayer Mediapool.
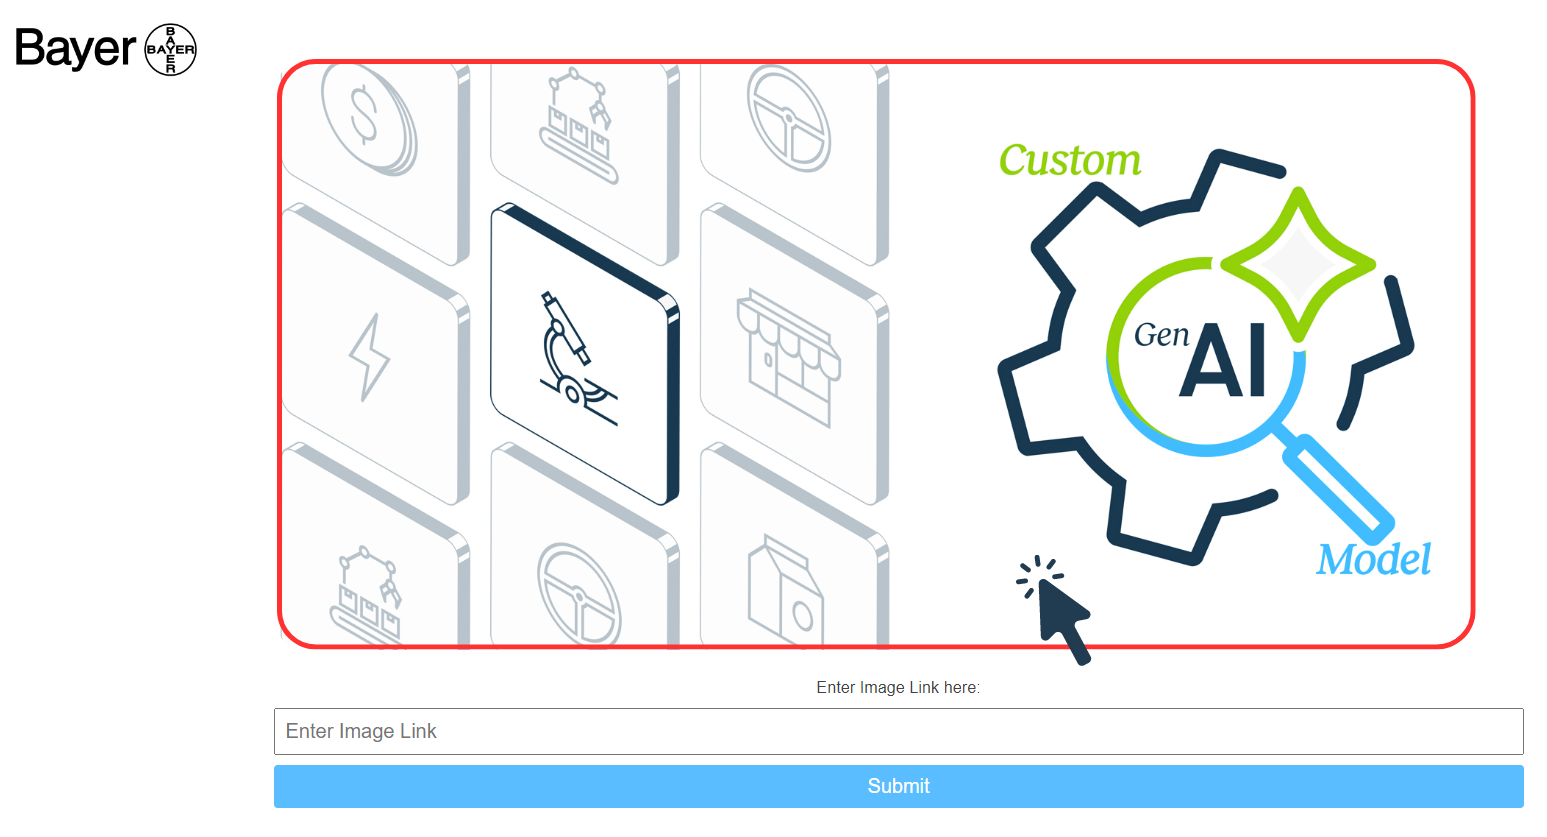


2. Choose an Image: In the Mediapool, select an image and click on the download icon  . Select the small size and copy the link.

3. Paste the Link: Paste the copied link into the textbox and click "Submit."

GENERATE AN IMAGE
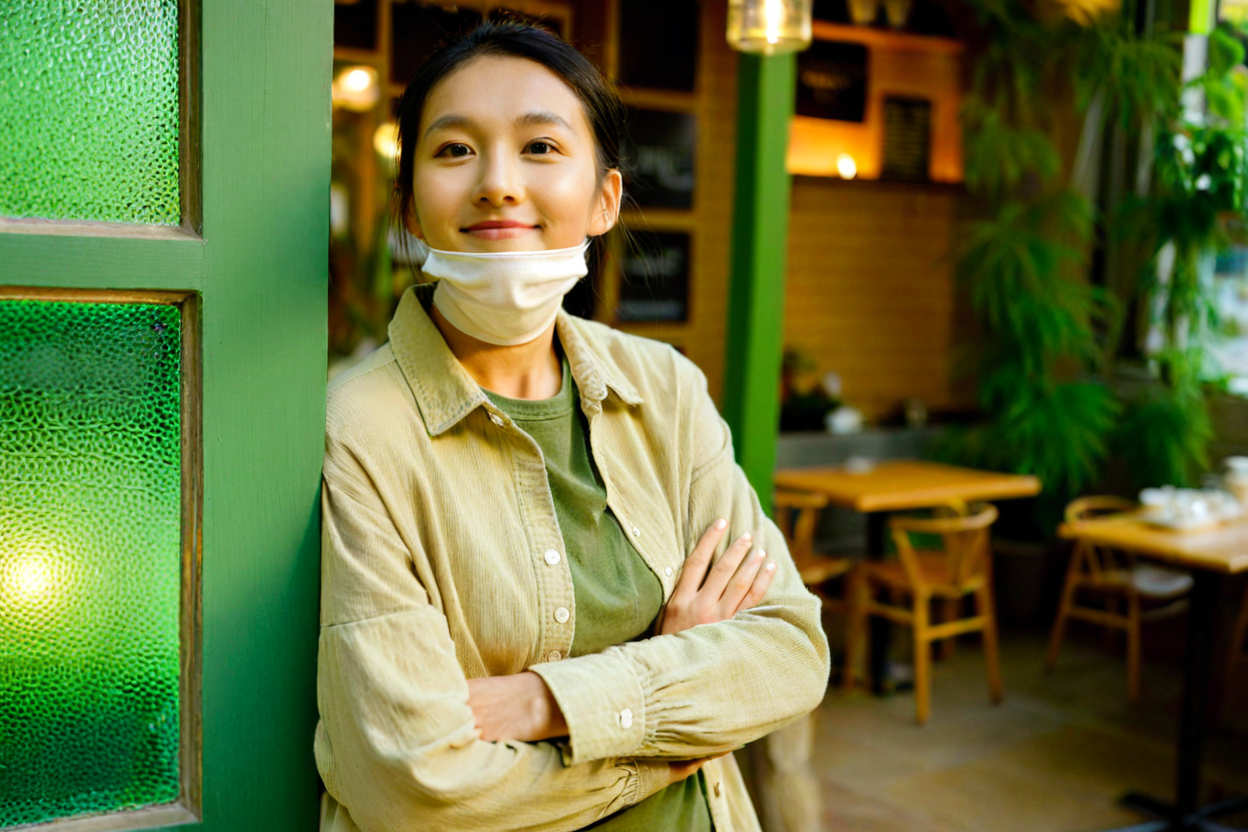
When you arrive at the image generation page, the selected image will be displayed along with several options.
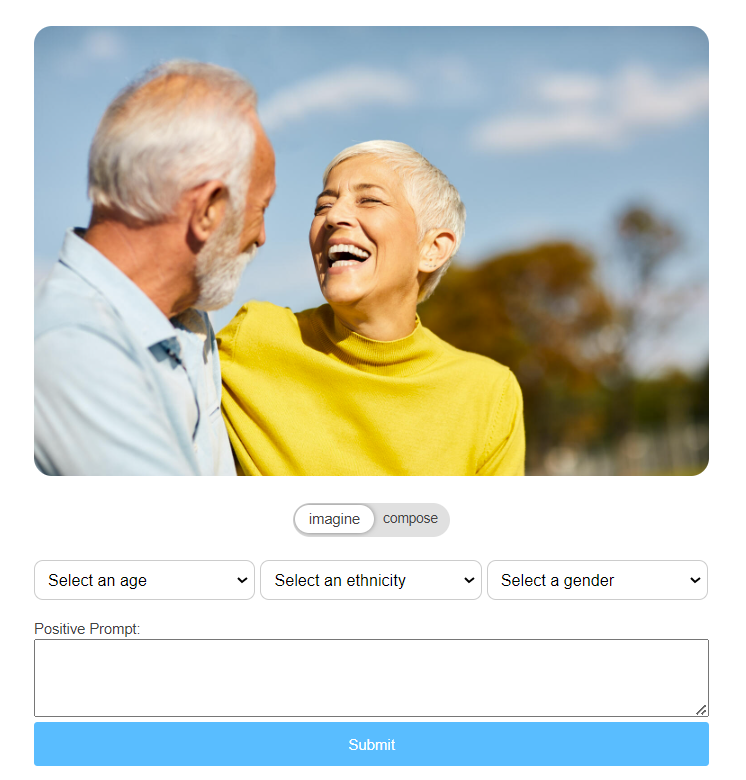
IMAGINE
The  switch lets you choose between 2 different modes. The "Imagine" mode allows you to generate a brand new image based on the composition of the original one. The generated image will be completely different, incorporating elements from the original.
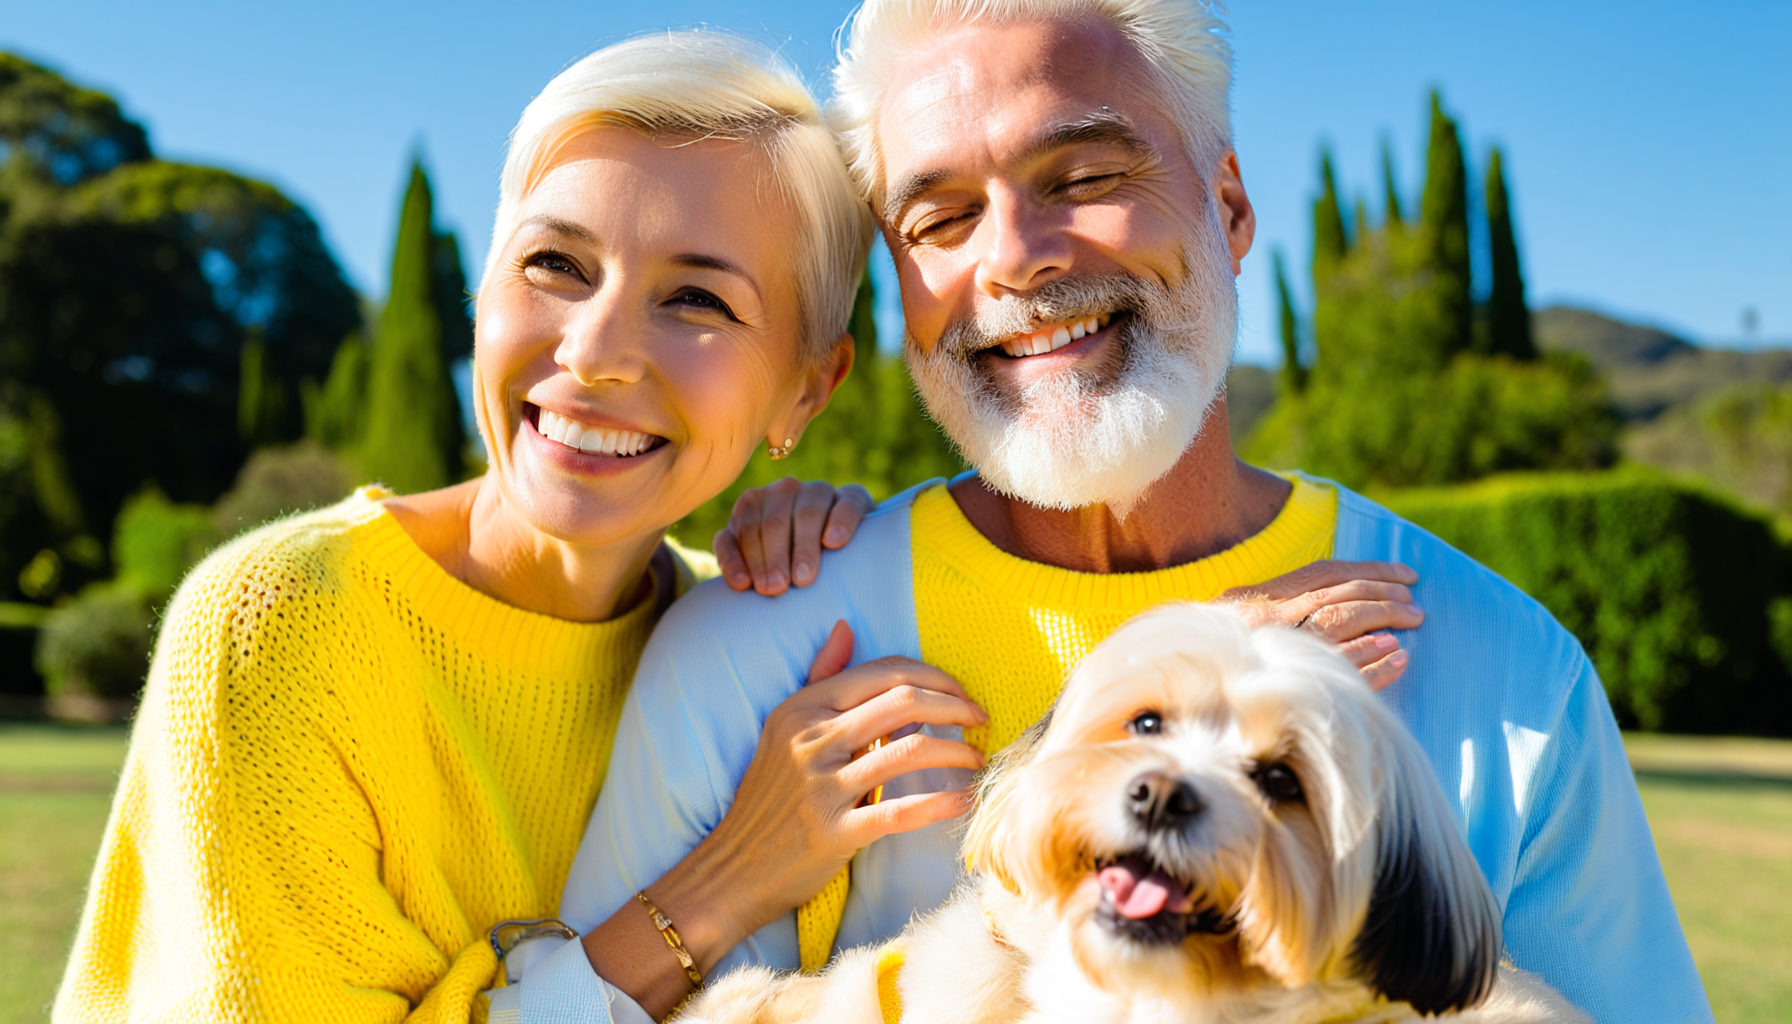
In this mode, the subjects and environment will be similar, but you’ll get a new composition based on your prompt. If you don’t specify anything, the model will create something new based on the original image. Try it out!
COMPOSE
The "compose" mode lets you modify the original composition while keeping every element intact. You can change the subject, lighting, color of the furniture, and more.
To do so, toggle to the compose mode 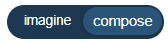 and enter what you want to modify in the textbox area. You can use pre-written prompts from the sliding menus or create your own.
This mode uses advanced techniques to alter the image based on a specific logic. You can adjust the fidelity to give more freedom to the model. Refer to the Enhancing Image Generation section for detailed mastery.
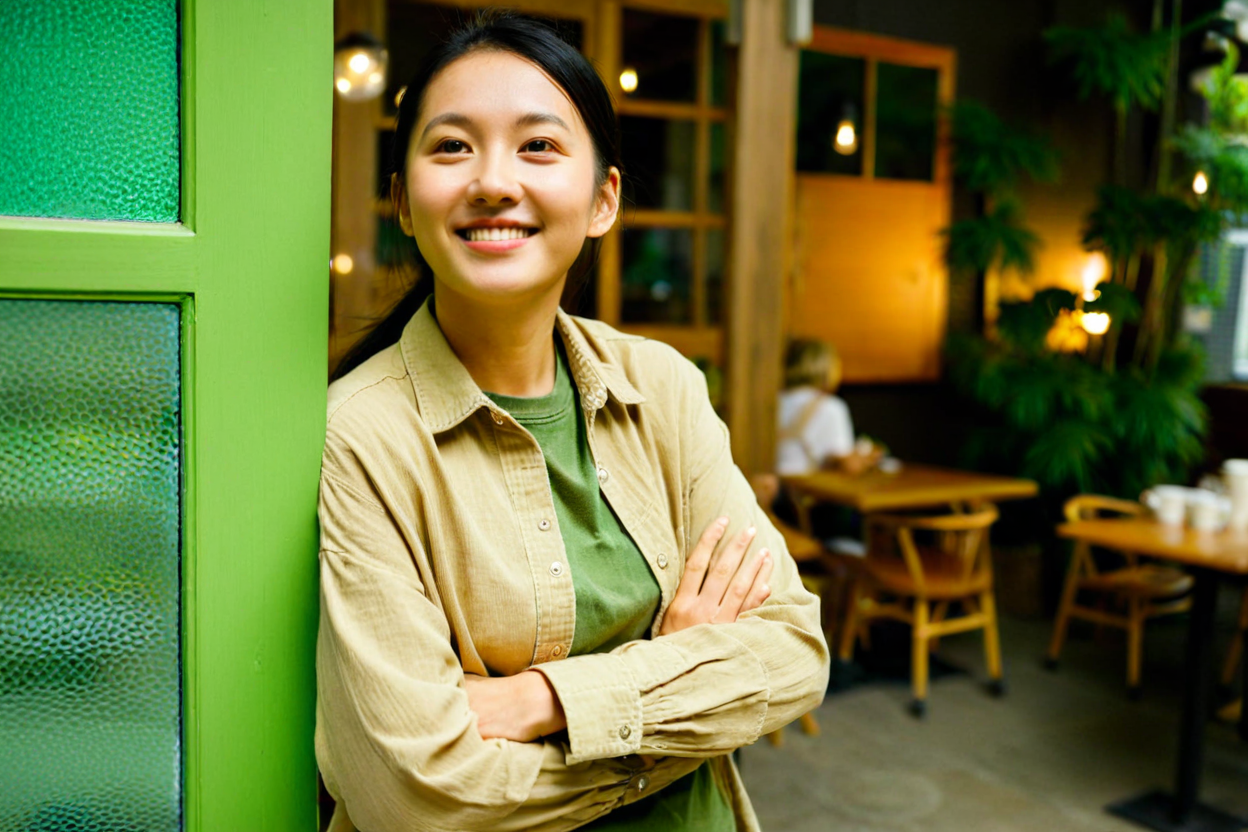
Once the image is generated, use the slider to compare the original and the new image.
Find all your generated images in the History section. Click on the Bayer logo in the top right corner to navigate through your previous creations.
Enjoy exploring and creating with the Media Pool GenAI!
To master the model generations, there are a few key aspects to understand:
RESOLUTION
Even if the model is able to generate images no matter the resolution, it's crucial to understand that it has been trained on images with specific resolutions. To achieve good generation quality and ensure consistency, you must input an image with an appropriate resolution—neither too small nor too large. Here are the best possible resolutions:
| Resolution | 832x1248 | 896x1152 | 1248x832 | 1024x1024 |
|---|---|---|---|---|
| Image format |
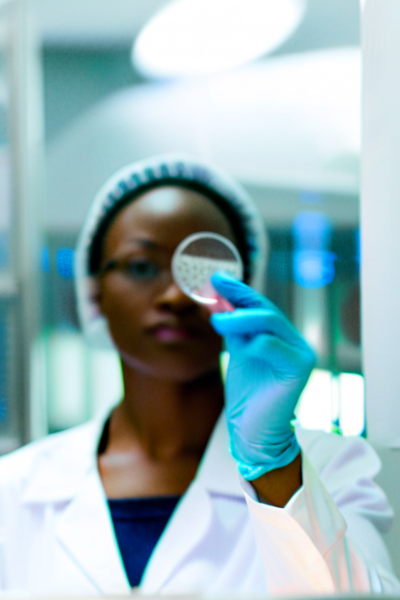
To illustrate this, we'll take the following image and prompt:

Bad resolution image
If we input this image in a low resolution, it will lead to a bad result:
Really high resolution image
If we input the same image, with a really high resolution, it will lead to nonsense results:

Good resolution image
If we input the same image, with a proper resolution, it will lead to a much more statisfying result:
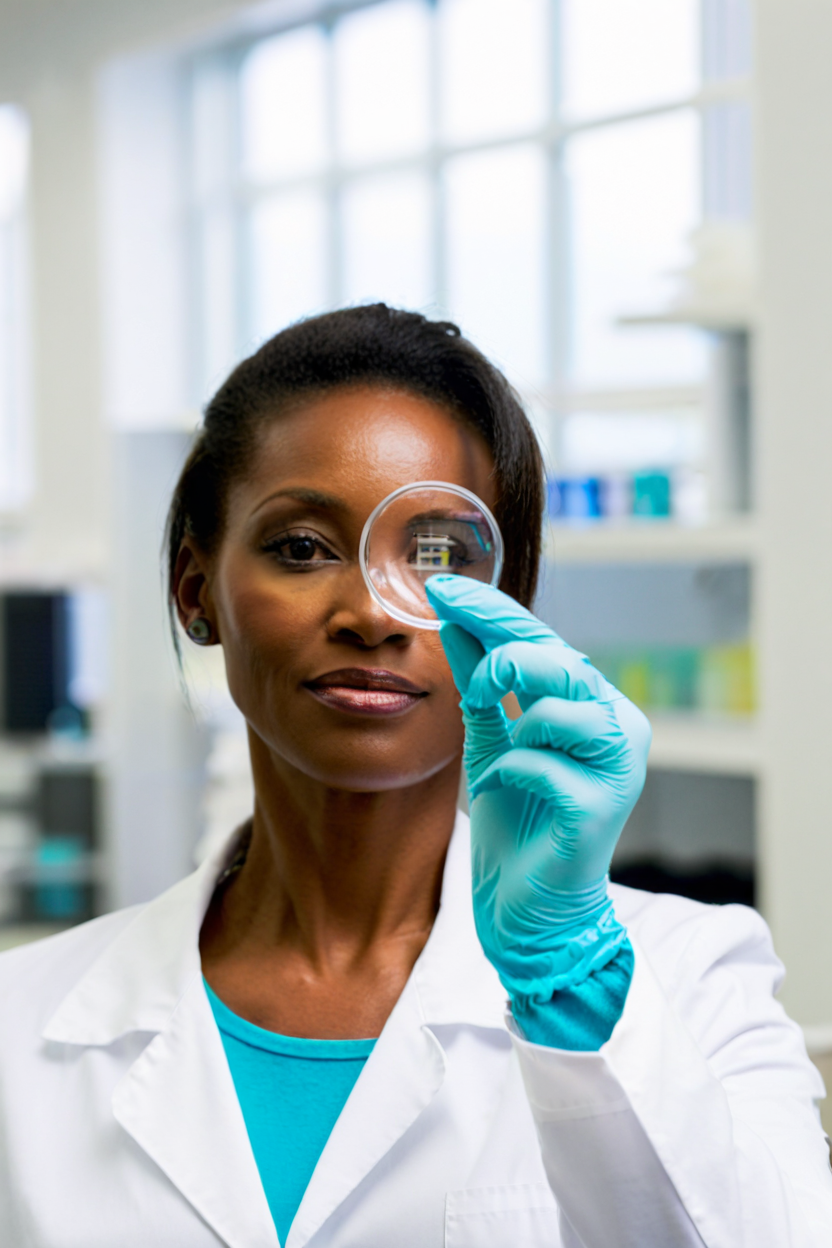
As you can see, the number one factor of a good generation results in good quality images. Even if the image you input is not the exact same resolution, the model will still be able to provide good results. But if you input an image that is much smaller, or bigger, this could lead to a bad generation.
FIDELITY
The fidelity parameter allows precise guidance in generating the environment according to the original image, but it also influences the generation concerning the subject. This parameter controls the strength of how closely the generated image follows the way light interacts with every object in the original image. For instance, if the subject has a prominent beard, the model might struggle to avoid generating features that match the light interactions of the beard, even if the subject is not supposed to have one.
To mitigate this issue, there are a few options:
1. Enhance Precision in the Positive Prompt Section: A more convenient option is to add specific details in the positive prompt section. For example, specifying "no beard" can help the model avoid generating a beard. While this method may not always be foolproof, a few iterations can lead to the desired image.
2. Decrease Fidelity: Lowering the fidelity can result in an environment generated solely based on the prompt, giving the model more freedom to follow your specific instructions. However, the accuracy of the generated environment will decrease as you reduce the fidelity.
Here are some examples to illustrate:
Enhancing the prompt
In this example, consider an image of an elderly Caucasian man.
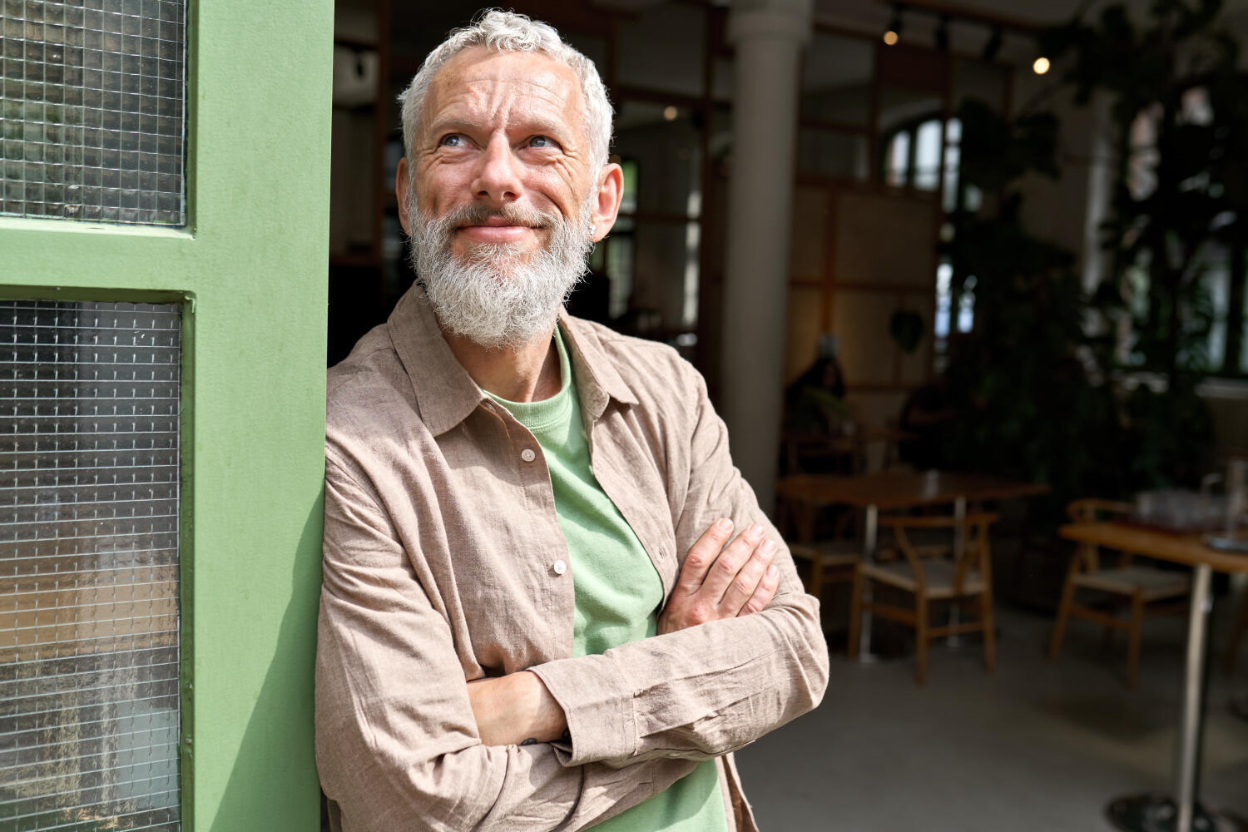
Let's try to generate a young Asian woman:
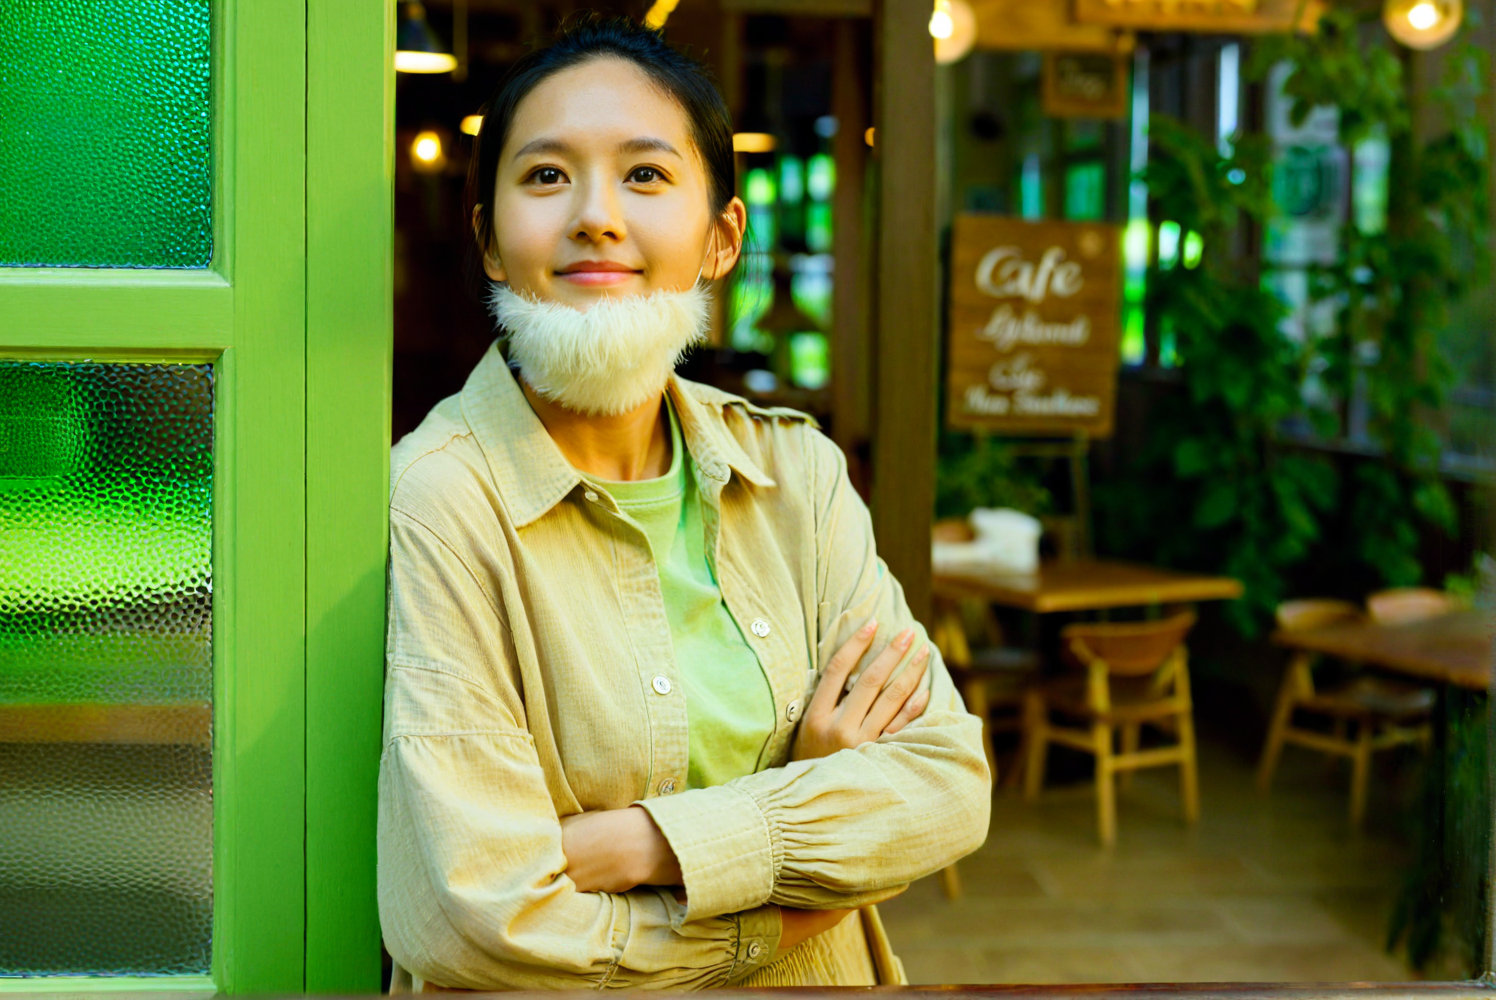
Since the fildelity is set to a high value, will follow the light interactions and depth of the original image closely.
To ensure the model follows the desired description of our subject, we can add specific instructions. For example, adding a negative statement: "no beard" in the positive prompt, can lead after a few generations to the desired result.
By adding "no beard," we can see that after a few tries, it led to the desired result.
However, this solution doesn't work every time and can sometimes require many generations to achieve a satisfactory image. Fortunately, there is another solution:
Decreasing the fidelity
Using the same image, if we decrease the fidelity, the model gains more freedom and can generate the desired image more easily. To illustrate this, we will take the same exact image:
We set the fidelity to 50% :
On the first generation, we might see the model successfully create the desired image.
However, it's important to understand that lowering fidelity gives the model more creative liberty, which can sometimes lead to less accurate environments.
If you need assistance, feel free to send an email to support@wedia.fr
This section allows you to review all the previous generations you have created.
Feel free to explore the tests you have conducted to determine which settings yield the best results.
You can compare different prompts, resolutions, and types of images.
For additional guidance on optimizing your image generations, please refer to the documentation section.